
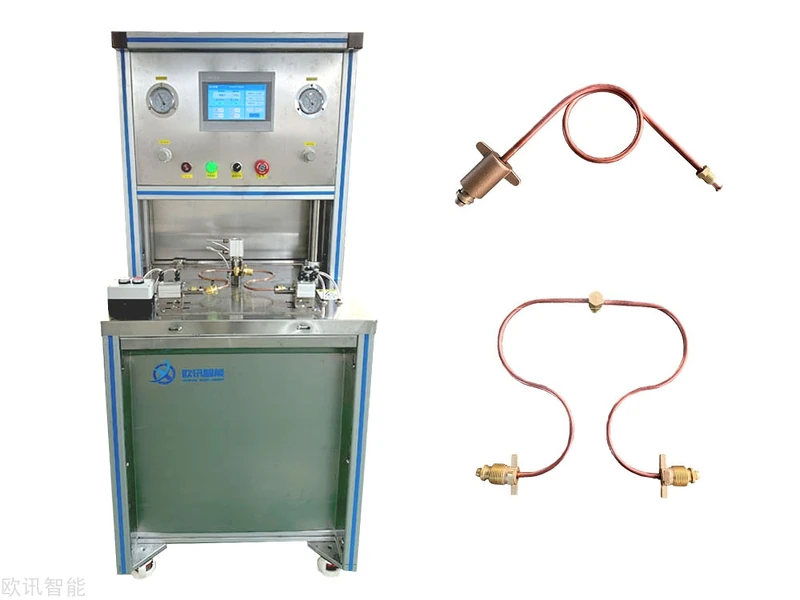
Unstable air-tightness results usually show up as large pressure-decay differences between repeated tests of the same product, occasional out-of-limit readings, or a change in verdict after the valve is moved to another station. When this happens, do not jump to the conclusion that the product leaks. First determine whether the error comes from the valve under test, the fixture, the air supply, or the pass/fail parameters.
Taking the pressure-decay method as an example, this article sets out the seven most common causes found on the production floor, together with a practical troubleshooting sequence.
1. Insufficient Dwell (Stabilisation) Time
After pressurising, the gas in the pipework, fixture and test piece is still changing pressure due to compression heating and slight structural deformation. If timing starts before pressure has settled, the instrument reads this normal pressure fall as leakage.
Record the trend of the pressure curve after pressurising before setting the dwell time. Larger product volume, higher test pressure and longer hoses all call for a longer stabilisation period.
2. Boundary Leakage at the Fixture or Sealing Face
Aged fixture seals, workpiece misalignment, burrs on the end face and incompletely seated threads can all cause leakage between fixture and workpiece. This typically shows up as a different result for the same part after changing fixtures.
Start by testing the empty fixture with a blanking plug or a sealed reference sample. If the empty fixture shows abnormal pressure decay, deal with the fixture, seals and connecting pipework before judging the product itself.
3. Mismatch Between Air Supply and Sensor Range
Unstable regulator output, fluctuating supply pressure, or a sensor with too wide a range or insufficient resolution all degrade repeatability. Test pressure must be stable, and sensor range and accuracy must match the allowable leakage of the product.
Check the pressure sensor zero point and calibration status regularly, and confirm before each test run that supply pressure, regulator output and actual test pressure agree.
4. Excessive Change in Test Volume
The pressure-decay method measures the combined pressure change inside the whole test cavity. Besides the internal volume of the valve, the added volume of hoses, fittings and fixture cavities affects the result. After changing hose length, fixture model or station, existing pass/fail parameters cannot simply be carried over.
Use fixed fixtures and fixed plumbing for the same product family. After any changeover, re-validate with reference samples and confirm the threshold values.
5. Ambient Temperature Change or Moisture in Compressed Air
Temperature change causes natural pressure variation in gas. Proximity to an air compressor, direct sunlight, a machine that has just started up, or a large day/night temperature swing in the workshop can all affect results. Excess water in the compressed air also destabilises the pipework.
Run critical tests in a stable environment, provide filtration and drying, and avoid judging products continuously right after start-up while supply pressure is still settling.
6. Inherent Actuation Variation in the Valve
For valves with springs, plugs, sealing pairs or actuators, test pressure can cause slight internal movement, so the first and second test results differ. This does not necessarily mean the equipment is faulty, but process validation is needed to confirm whether it is a structural characteristic of the product.
Adopt a “pre-pressurise once, then test” routine and set up independent test recipes for each model rather than covering all products with one set of parameters.
7. Judging on a Single Pressure-Decay Value
Using only the final pressure decay ignores abnormal fluctuations during pressurising, stabilising and testing. A more reliable approach records initial pressure, dwell time, test time, final pressure and the full pressure curve.
Build validation data from known-good and known-leaking samples, and set the acceptance criteria against customer drawings, inspection specifications and actual service conditions rather than copying parameters from another product.
Recommended Troubleshooting Sequence
- Verify the empty fixture and pipework with a blanking plug or sealed reference sample.
- Check supply pressure, regulator and sensor condition.
- Confirm whether dwell time, test time and test volume have changed.
- Test the same product three times in a row and observe the curve and repeatability.
- Cross-check by changing fixture or station to separate equipment problems from product problems.
- Verify the threshold using known-good and known-leaking samples.
Conclusion
Stable air-tightness testing is not achieved by raising test pressure or tightening limits. It is determined jointly by fixture, air supply, sensor, test cycle time and product process. Reference-sample validation, curve recording and parameter recipe management are what make results genuinely repeatable and traceable.
Ouxun Intelligent can configure air-tightness test benches, automatic fixtures, barcode traceability and test report output to suit your valve design, test medium, pressure range and throughput requirements.