
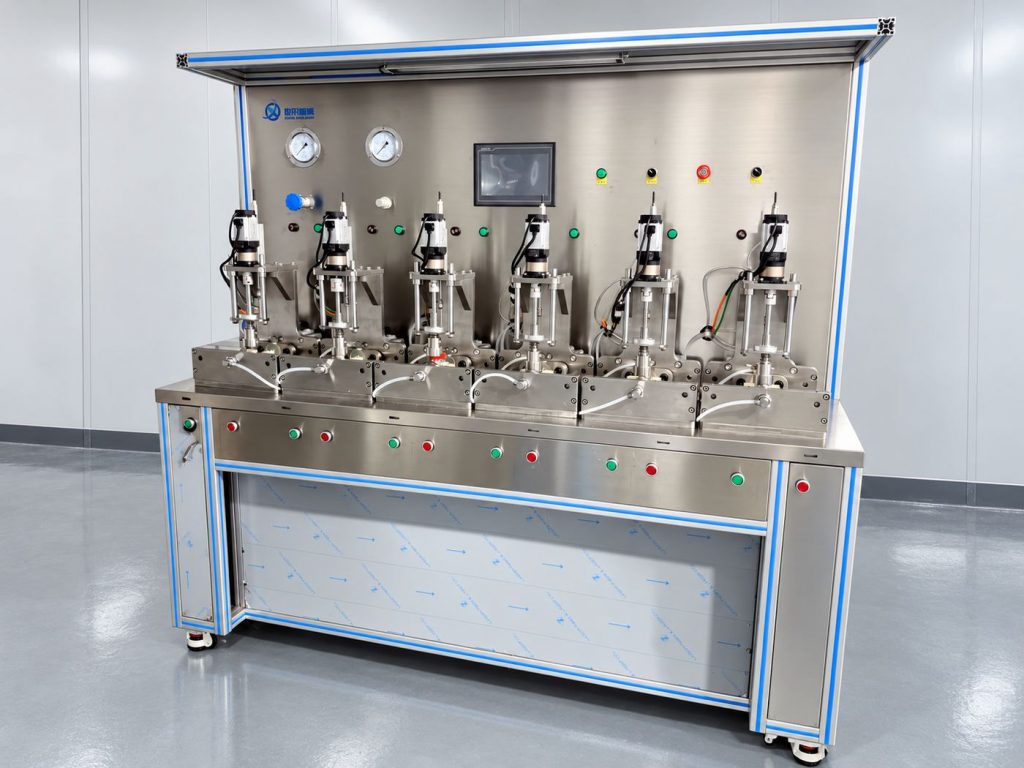
Short answer first: there is no universal valve pressure test hold time. It is fixed by three conditions at the same time – the standard clause you are working to, the valve’s nominal size and design type, and whether this is a routine factory inspection or a type test with a witness. Change any one of them and the number moves.
The phrase we hear most often on site is “three minutes, that’s how we’ve always done it.” That answer does not survive a customer audit or a third-party inspection, because nobody can point to the clause behind the number. So here is the clause-by-clause reasoning.
Criterion 1: The standard gives a time band based on nominal size
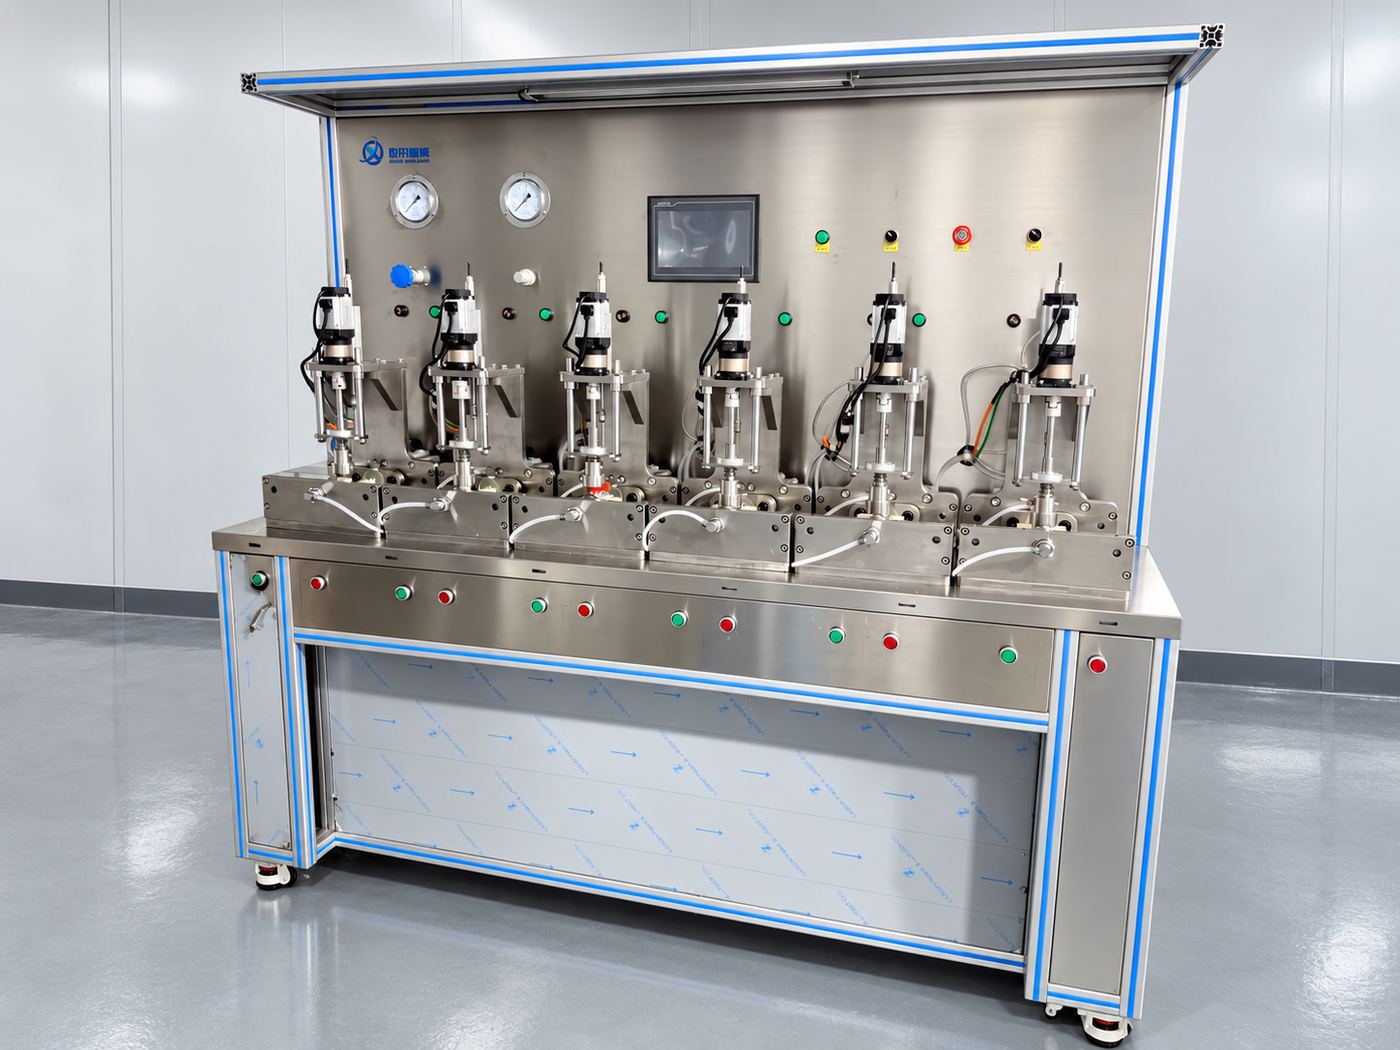
Both GB/T 13927 and API 598 state the duration of the shell test as a function of nominal size, not pressure class. The bands commonly used in industry:
| Nominal size | Minimum shell test hold time |
|---|---|
| DN 50 / NPS 2 and smaller | 15 s |
| DN 65 – 200 / NPS 2 – 8 | 60 s |
| DN 250 – 300 / NPS 8 – 12 | 120 s |
| DN 350 / NPS 14 and larger | 300 s |
Three details get missed when this table is copied into a work instruction.
The numbers are minimums, not recommendations. You may hold longer. You may not hold shorter. Many customer specifications tighten the band – a flat 300 s for every size is common – and then the customer specification governs.
The seat (closure) test is usually shorter than the shell test. These are different test items with different acceptance criteria: the shell test looks for leakage and permanent deformation, the seat test measures leakage rate against an allowable value. Running the seat test for the shell test duration wastes cycle time; running it shorter hides leaks.
Standards have edition years. The current edition of GB/T 13927 is the 2022 revision, and API 598 has been revised several times. Bands have moved between editions, so confirm which edition your contract actually cites before quoting a number. We covered the Chinese standard separately here: testing industrial valves under GB/T 13927-2022.
The table above illustrates how the banding works. Before you implement it, verify against the edition of the standard your contract cites – values differ between editions and between industry specifications.
Criterion 2: Valve type decides what “pass” looks like
Sixty seconds is sixty seconds, but what you watch during those sixty seconds changes completely between a gate valve and a butterfly valve.
Gate and globe valves. Watch the seat faces and the body-to-bonnet joint. Leakage at the bonnet joint is routinely misdiagnosed as a body defect when it is usually uneven gasket preload.
Ball valves. Watch the contact between ball and seat. Soft-seated ball valves often seal at the moment pressure stabilises and only weep in the second half of the hold – which is exactly why the hold time cannot be shortened. Compress it and you cut the window in which the leak appears.
Butterfly valves. The stem packing is the high-frequency leak path. Include the packing gland in the observation scope, not just the seat.
Check valves. These require reverse seat testing. Test direction is opposite to the three above and the clamping arrangement differs, so confirm the fixture separately when you specify valve testing equipment.
Metal-seated and soft-seated valves are judged on different scales. Metal seats are typically accepted against a bubble or drop count; soft seats are held to a tighter limit. Applying one acceptance rule to both designs guarantees you will over-reject one type and pass leaks on the other.
Criterion 3: Test purpose sets the strictness
The same valve can see three different hold times depending on why it is being tested:
| Test purpose | Duration used | Notes |
|---|---|---|
| Production / routine inspection | Lower limit of the band | Cycle time driven, valid only if the bench holds pressure |
| Type test | Lower limit or tightened | Covers the full test programme, usually including cycling and life test |
| Customer acceptance / third-party witness | Per customer specification | Often tighter than the standard, with full curve recording |
Chasing cycle time in production is legitimate, with one precondition: the test bench must be able to hold pressure. If the equipment itself drifts during the hold – micro-leaks in the piping, internal leakage past a valve, pressure drift from temperature – then shortening to the lower limit only inflates the false-reject rate. The correct action in that case is to fix the bench, not to extend the hold time and wait for it to settle.
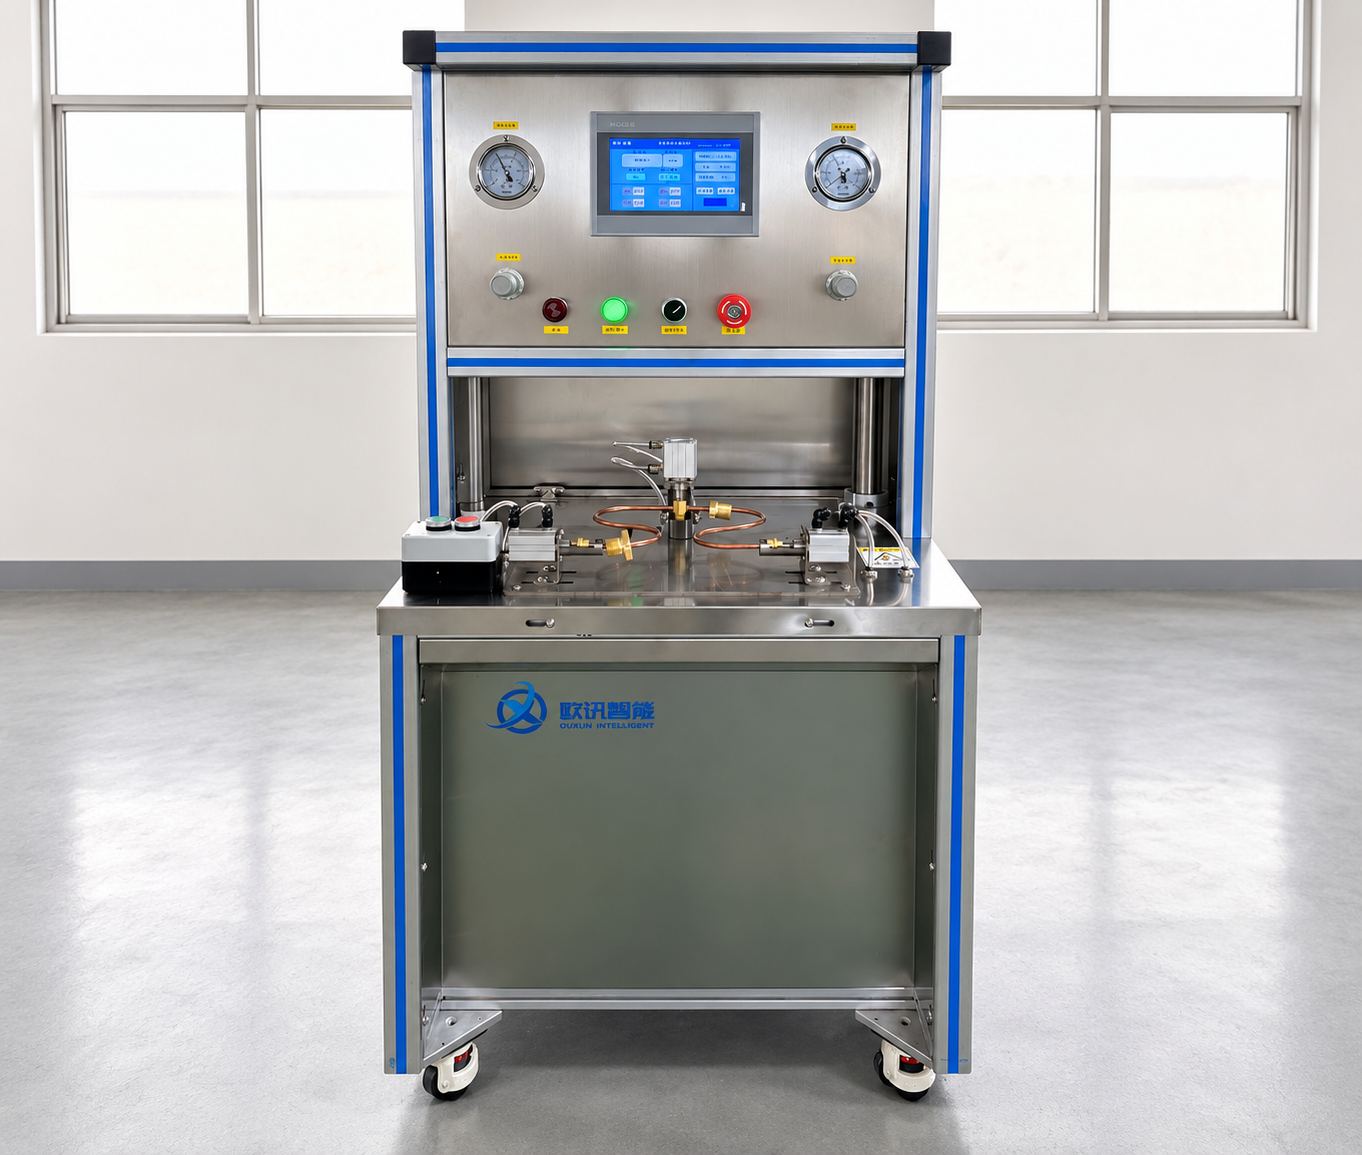
Pressure decay and curve interpretation are covered separately in this FAQ on pressure test planning and curve review.
Three mistakes that show up in audits
Mistake one: timing from the start of pressurisation. The hold begins when pressure has reached the specified value and stabilised – not when the pump starts. Include the ramp and you have silently eaten part of the hold.
Mistake two: topping up pressure during the hold. Topping up produces a beautiful flat curve and hides the leak. Record the decay rate instead and let it expose the problem. This is one of the most common roots of air-tightness test misjudgement.
Mistake three: one duration for every size. Applying the same hold to DN 25 and DN 600 either wastes time on small valves or misses defects on large ones.
Five steps to lock it down on the floor
- 1. Confirm the standard and edition cited in the contract – GB/T 13927-2022, API 598, or a customer standard
- 2. Separate shell test from seat test, and set a duration for each
- 3. Look up the band by nominal size, then apply any customer tightening on top
- 4. Write it into the work instruction with the clause number, not just a number
- 5. Fix it as a parameter in the equipment so operators cannot set it from memory
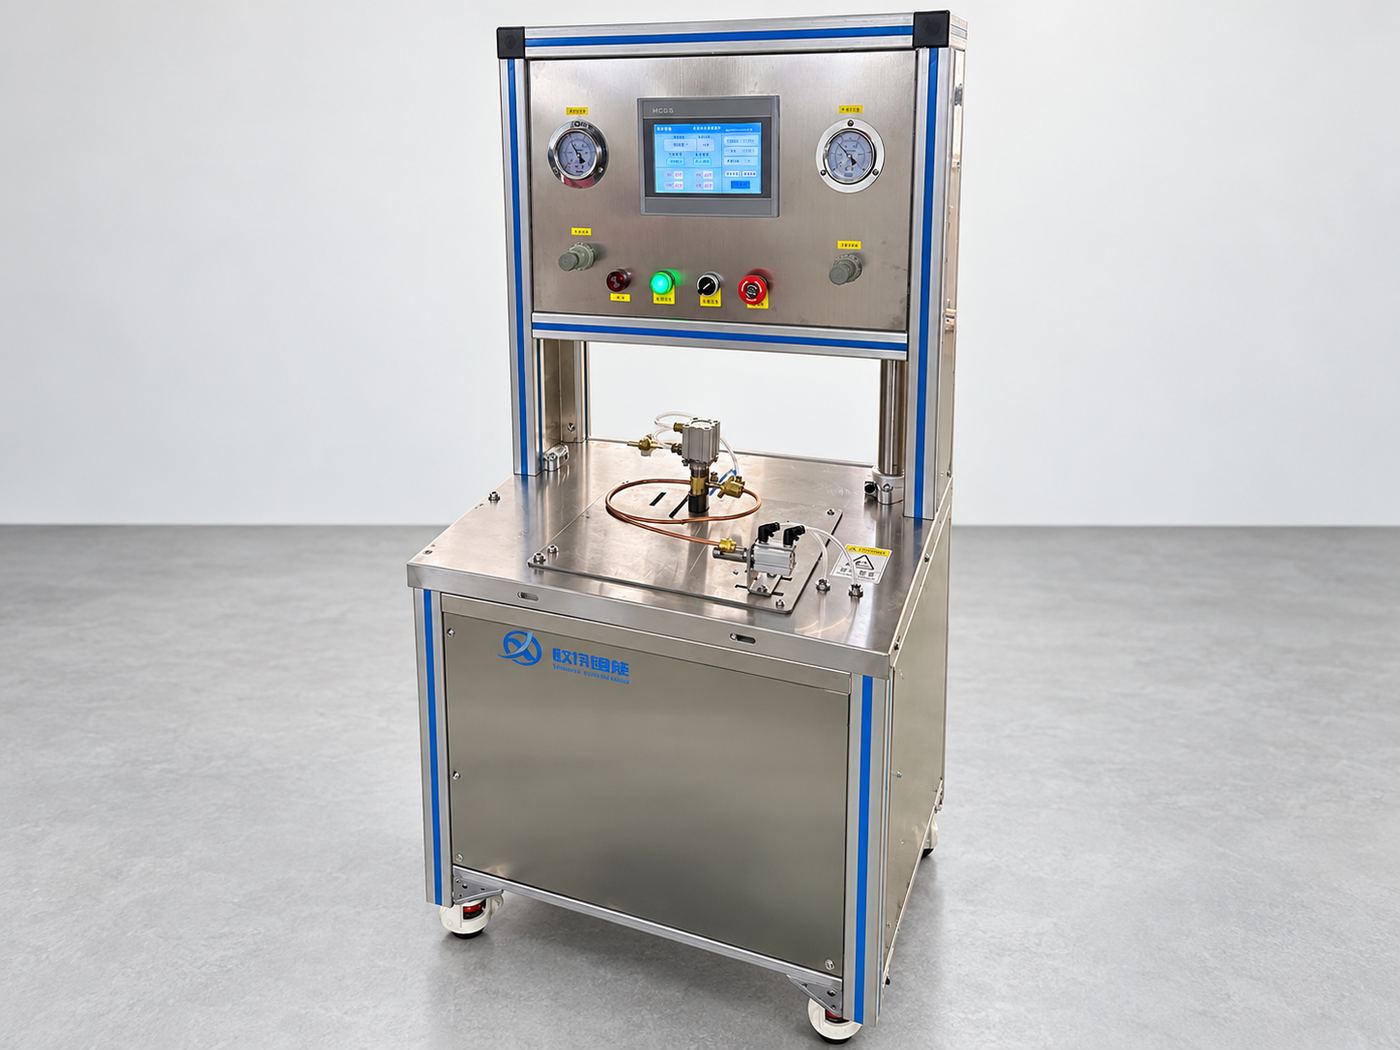
Step five is the one most factories skip. If the bench supports recipe management, store size, test type, hold time and acceptance threshold as one callable parameter set. It prevents manual setting errors and gives you an exportable record at audit time. The configuration requirements are set out in more detail in this valve test bench selection checklist.
What to confirm before you set a number
If you are setting a hold time for a specific product, answer these four questions first:
- – Product type, nominal size and pressure class
- – Which standard, and which edition, the contract or drawing cites
- – Whether this is routine inspection, a type test, or a witnessed acceptance test
- – Whether the customer specification tightens the standard band
Once those four are fixed, the hold time is essentially determined. If the equipment also needs multi-size quick changeover, automatic judgement and data recording, work through the equipment selection guide item by item, or read the answers grouped by test type in our FAQ.
If you need parameters calculated for a specific valve type and duty, send us the conditions and our engineers will propose a configuration against your acceptance criteria.
Hold times differ by standard, so confirm which document the order cites first. Editions and cross-references for the four systems are listed in the Valve Test Standards Index (GB/T, ISO, API, EN cross-reference).
Related test equipment
Each test above maps to a bench. Pick by valve type and by the item you need to prove:
- Valve pressure test machine — shell at 1.5x and seat at 1.1x, with a report per valve
- Valve comprehensive test bench — pressure, tightness, flow, torque and life cycling on one clamping system
- Valve flow test system — flow and differential pressure per opening to derive Cv/Kv
- Valve testing equipment range — browse all models by valve type and test item